Southern fried Cabbage with Sausage

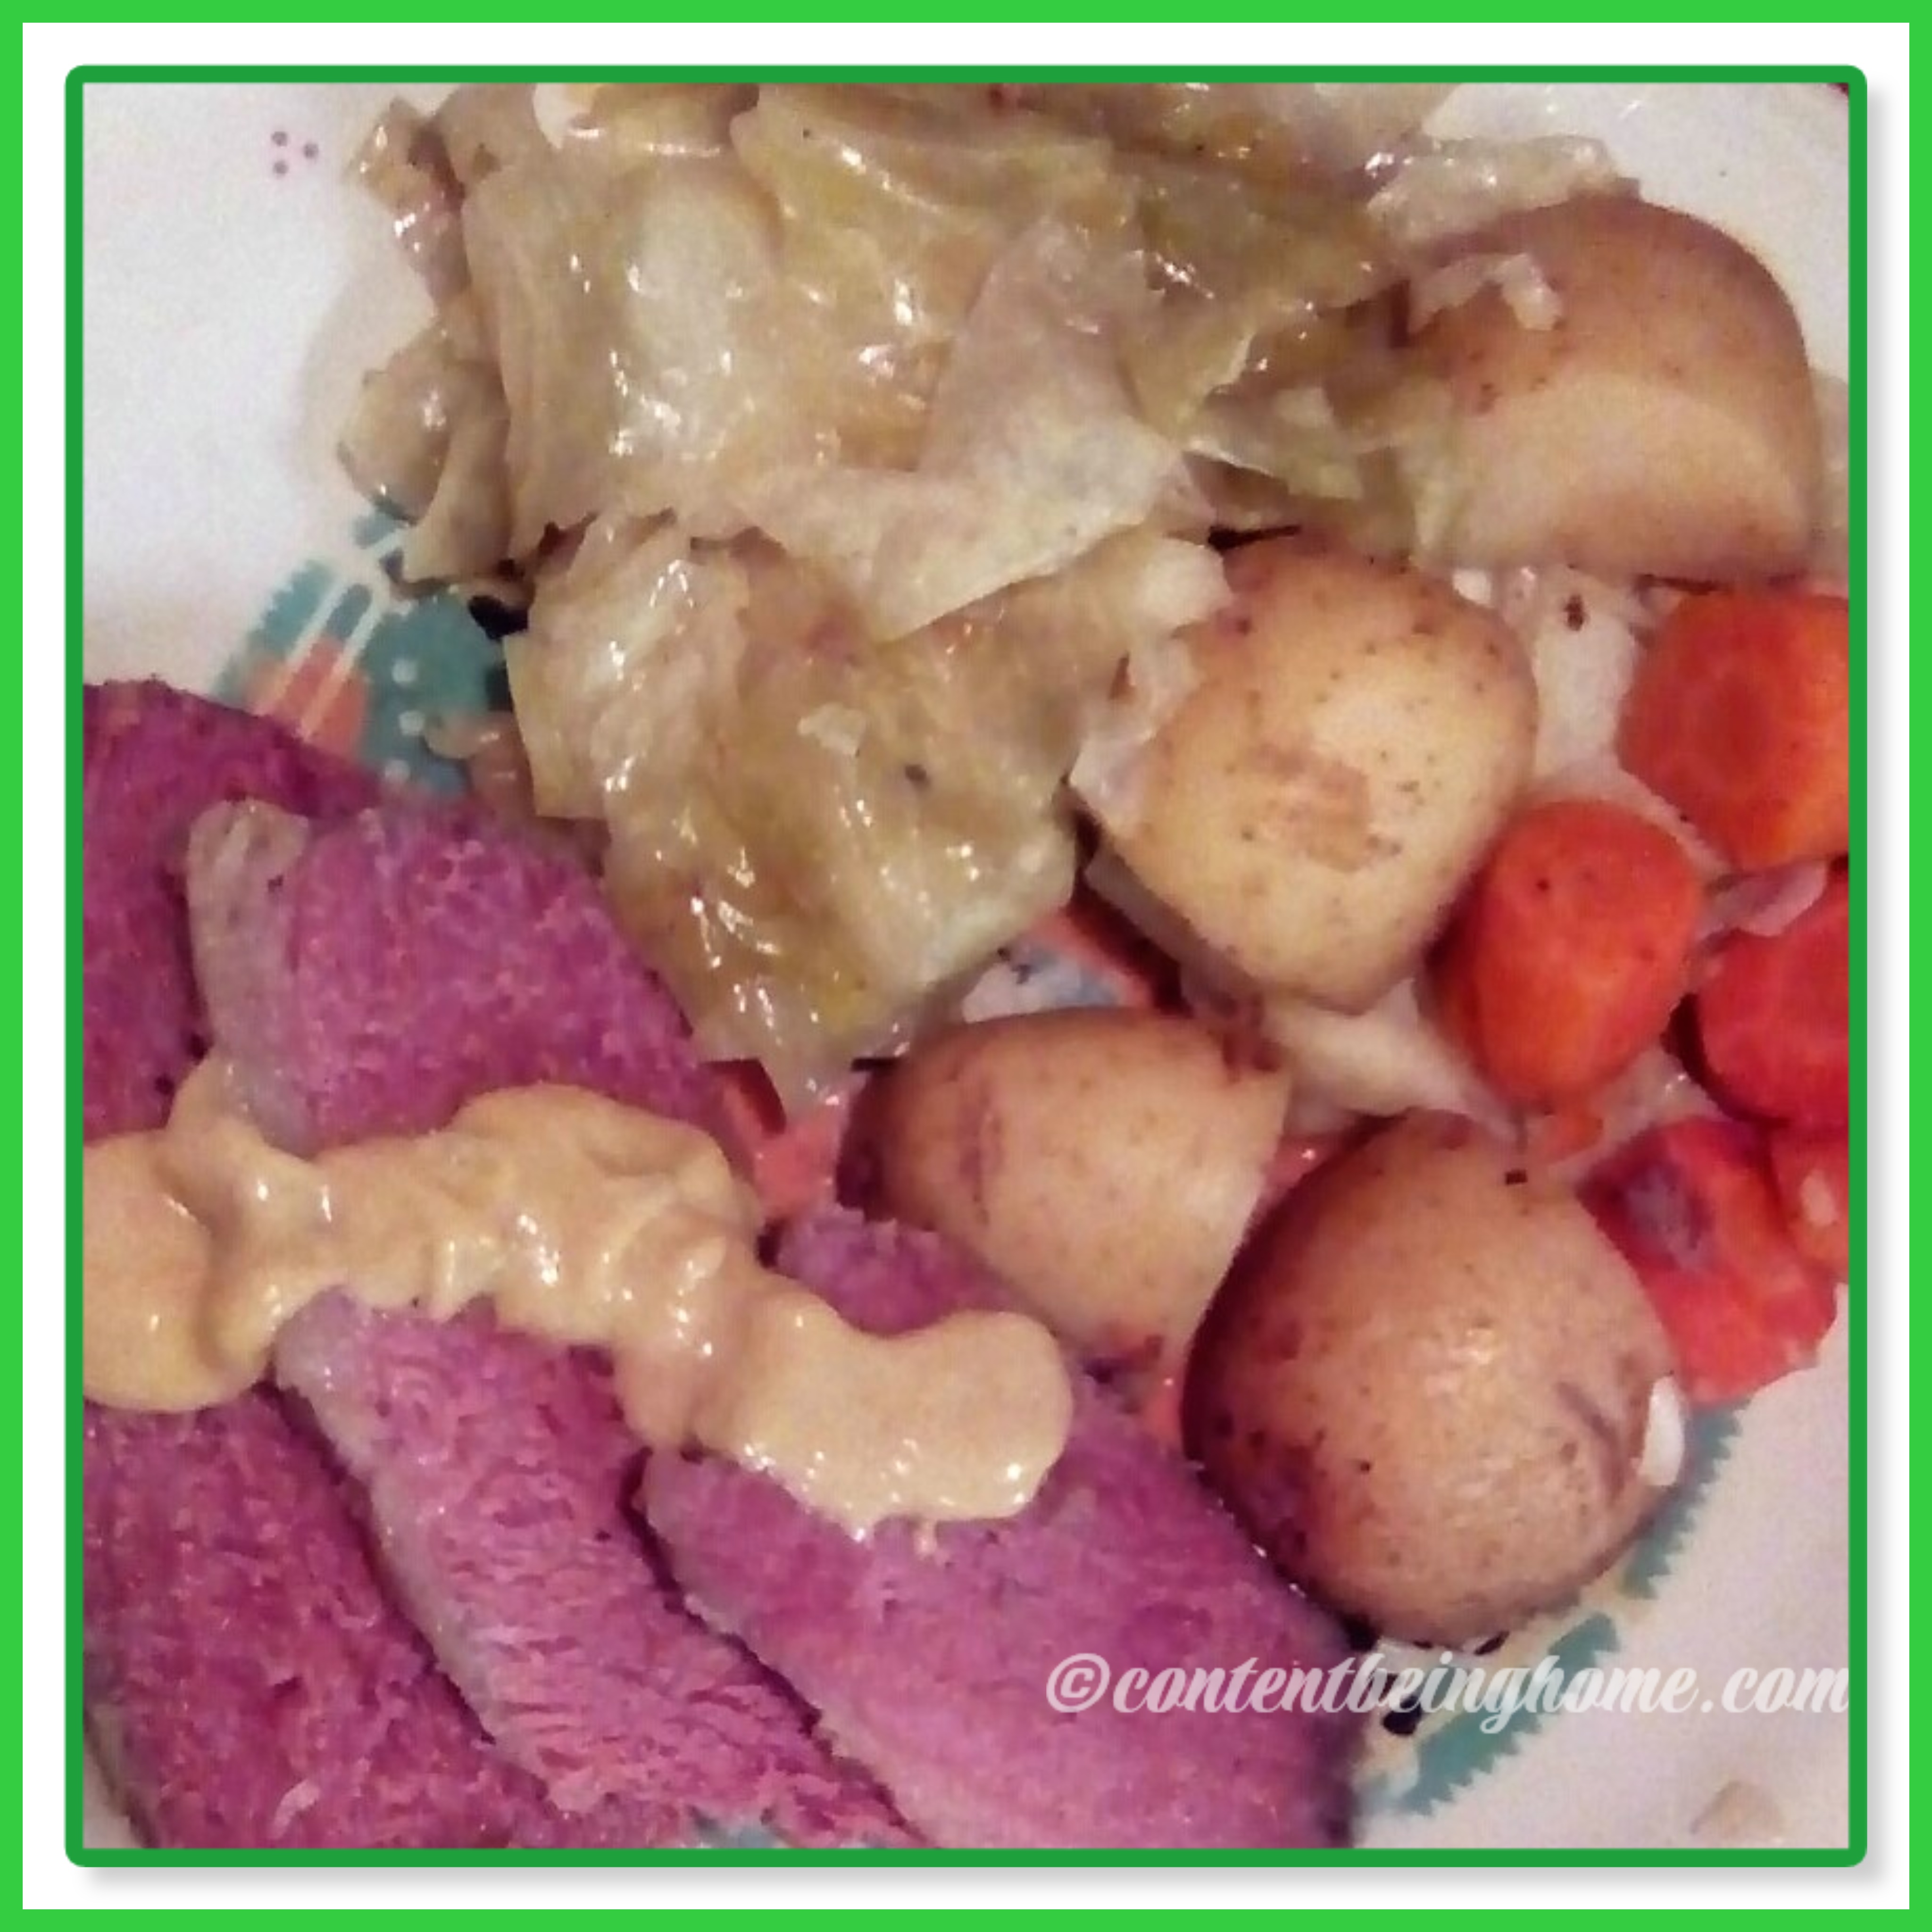
Here is a meal that is easy to fix and budget friendly too. My husband loves eating cabbage especially this way. He jokes how he could live off this meal every week.


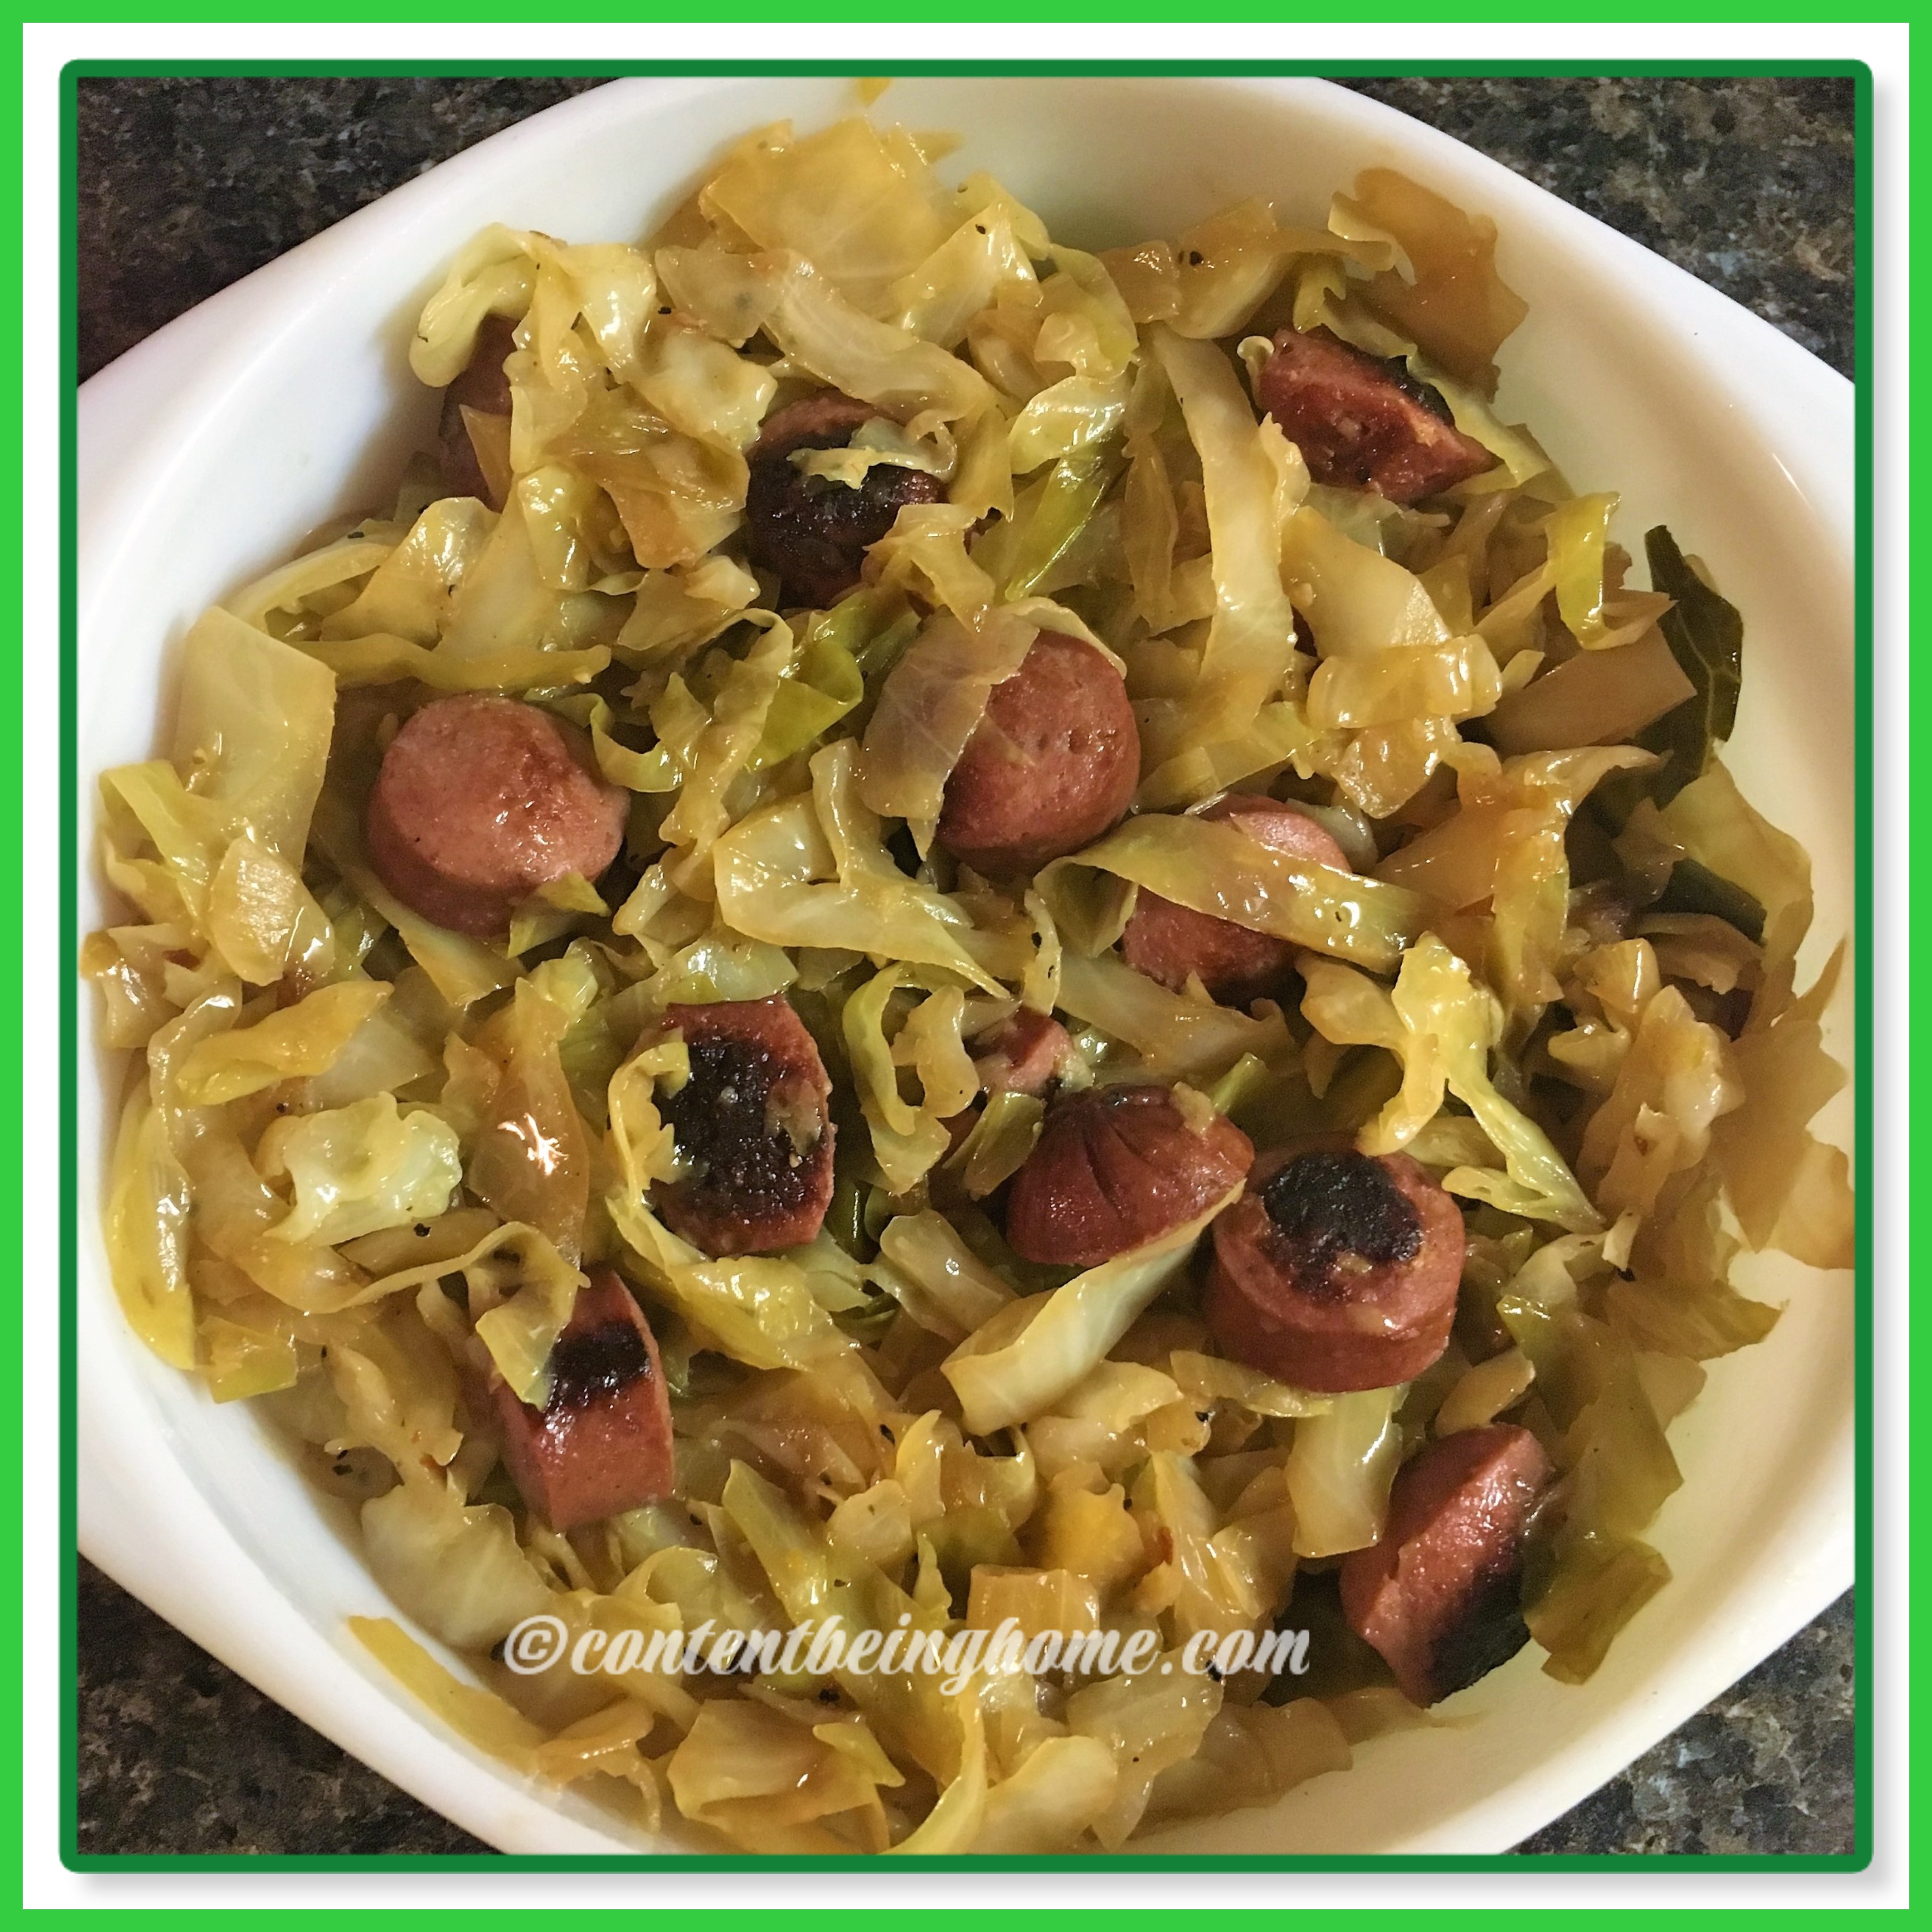
Fried Cabbage with Smoked Sausage


Ingredients
:
1 medium to large head of cabbage
1 lb. Smoked Sausage, sliced into 1” rounds or moons
1 medium yellow or white onion, chopped
1-2 garlic cloves, minced
1 stick of butter
1/2 tsp. salt
1/4 tsp. black pepper
1/4 tsp. red pepper flakes
2 tsp. sugar
1 Tbsp. Apple Cider Vinegar (or distilled white)
1/4 cup chicken broth

Directions:
Pull off the outer dark green leaves from your cabbage and discard. Give the cabbage a good rinse and pat dry. Cut cabbage (with a good sharp knife) into smaller sections (ex: fourths) to make it easier to handle. You don’t want to use a dull knife to cut the cabbage. That could be dangerous. Do be very careful with that sharp knife as well. After you get your pieces into smaller sections you can handle, cut the core out of the middle (see note below). Slice your cabbage into shreds or chunks and sit aside.

In a large skillet heated on medium high heat with a little olive oil, cook your sliced smoked sausage to brown on both sides. Remove to drain. In that same skillet add your onion and cook for about 5 minutes. Cut off a good chunk of your butter and add to skillet to melt. It’s time to start adding in your cabbage chunks/shreds a little at a time. As it cooks down add in more cabbage and remaining butter. Keep doing this until you have used it all. Now you can add in the garlic cloves. It will seem like a lot of cabbage at first. Don’t worry because it will cook down. That’s why I like using a large cabbage so that we can have plenty. My mom told me it’s best to use the large one as well unless you have only 1-2 people to feed. She also said the whole stick of butter is necessary to cook the cabbage because it needs the fat. Believe me you won’t be sorry when you taste it. Add in the sugar, seasonings, vinegar, and broth. Cover your skillet and turn the heat down to low. Let that simmer about 20 minutes and stir occasionally. Serve and enjoy!

Notes: You can discard the core or save it to use with other scraps to make a homemade veggie broth. I’m a firm believer in homemade broths and stocks. I believe that is one contributer to why we hardly get sick in our home (once or twice a year is the most). We eat our fried cabbage and sausage with a slice of homemade buttered sourdough or cornbread. For a whole different meal you can also swap out the smoked sausage and use a pack of cut up fried bacon instead.

Print Friendly and PDF

© Content Being Home 2025. All Rights Reserved. All photos, text, and other content may not be reproduced or transmitted in any form without the written permission of the blog author.

Crockpot Corned Beef and Cabbage

When cabbage is marked down to around 49 cents a pound, I take advantage of it so I can make this and several other recipes.

Crockpot Corned Beef and Cabbage

Ingredients:
1 corned beef brisket, about 3-4 pounds 
4 to 6 medium potatoes, peeled and cut into thick slices 
4 medium carrots, sliced 
1 medium onion, quartered 
2 cloves garlic, minced
1 cabbage, about 2 lbs. (sliced into 8 wedges)
2 Tbsp. Apple Cider Vinegar
2 Tbsp. sugar (white or brown) 
1/2 teaspoon black pepper 
salt to taste (optional)
1 1/2 cups broth or water

Directions:
Thoroughly wash corned beef. Lightly butter or spray a 5 to 6-quart crockpot. Layer potato slices over the bottom with carrots, onion, and garlic. Add sugar and vinegar. If you have the seasoning packet that came with your corned beef, open it and sprinkle it on top of the veggies too. Add water. Place corned beef on vegetables. Arrange cabbage slices around and on top of the meat. Sprinkle with the salt and pepper. Cover and cook on LOW setting for 7 to 8 hours, until meat and vegetables are tender.
Remove meat to a platter; cover with foil and rest for 10 to 15 minutes before slicing.
Serves 8

* We eat a spicy brown mustard sauce with our corned beef.

Print Friendly and PDF

© Content Being Home 2025. All Rights Reserved. All photos, text, and other content may not be reproduced or transmitted in any form without the written permission of the blog author.

Minestrone Soup

***This is a really yummy soup to have when the weather starts getting cooler. I’ve made several different versions through the years to perfect it to our liking. I believe I hit the jackpot. Be sure to read the end notes for tweaking to your tastes.

Homemade Minestrone Soup

Ingredients:
2 Tbsp. olive oil, ghee, coconut oil (or good ole bacon grease :-D)
1 small to medium onion, chopped
2 ribs celery, chopped
4-5 cloves garlic, minced
28 oz. can of diced tomatoes, undrained
16 oz. bag frozen mixed vegetables
1 medium zucchini, diced
2oz. (2 handfuls) fresh baby spinach
14.5 oz. can cannellini beans (white kidney) drained and rinsed
14.5 oz. can of red kidney beans drained and rinsed
1 tsp. dried parsley
1 tsp. dried oregano
2 tsp. dried basil
1/2 tsp. dried rosemary, crushed
1/2 tsp. dried thyme
2 whole Bay leaves
1/2 tsp. sea salt
1/4 tsp. ground black pepper
2 Tbsp. Better than Bouillon vegetable base (*this helps the flavor)
5 cups chicken or beef broth (or water)
1 cup uncooked ditalini, small shell, or elbow pasta

Directions:
Heat oil in a skillet and sauté onion, celery, and garlic 10 minutes. Transfer to a sprayed 6 qt. slow cooker. Add everything else except spinach and the pasta (save for later). Cook on LOW for 6-7 hours. Add spinach and your pasta of choice to crock pot and finish cooking 30 more minutes or until pasta is done. This could also be done in an Instant Pot for 10 minutes. I would do a QR (quick release) first then stir the pasta and spinach in with the other ingredients. Close lid and cook for 5 minutes then do a NR (natural release) for 5 minutes. Adding already cooked pasta at the end of cooking works too.

**Note: You can sub the herbs with Italian seasoning. The Bouillon vegetable base amps up the flavor in this. Try not to leave it out if you can help it. Next time I think I’ll try a couple Tablespoons of Pesto stirred in as well as an 8oz. can of tomato sauce. Adding another protein like Italian sausage, smoked sausage, cubed beef, or leftover roasted chicken would be good too.

Print Friendly and PDF

© Content Being Home 2024. All Rights Reserved. All photos, text, and other content may not be reproduced or transmitted in any form without the written permission of the blog author.

Unstuffed Bell Pepper Casserole

If you like stuffed bell peppers, how about turning your favorite recipe into a one dish casserole. Here is mine:

Unstuffed Bell Pepper Casserole

Ingredients:
1 lb. ground beef, turkey, or ground sausage
3 bell peppers, chopped (I used 1 green, 1 orange, and 1 yellow for a pretty Fall look)
1 medium onion, chopped
1-2 garlic cloves, minced (or 1/2 garlic powder)
1/2 cup instant rice (or 2 cups cold cooked rice)
1/2 cup water (if using instant rice. omit if using cooked rice)
14.5 oz. can Italian stewed tomatoes
1/2 bottle of Heinz chili sauce (or 8 oz. can Italian tomato sauce)
1 tsp. Italian Seasoning
1/2 tsp. Sea Salt
1/4 tsp. black pepper
2 tsp. Worcestershire sauce
8 oz. pkg. shredded cheddar cheese (Italian blend or Colby/Monterey Jack would work too)

Directions:
Preheat oven to 350 degrees. In a pot full of boiling water put in the chopped bell peppers. Let them blanch for 5 minutes then remove them from the water to a strainer. Run cold water over them to stop the cooking. In a skillet brown your meat with the chopped onion and garlic until no longer pink. Drain. In a 2qt. casserole dish sprayed with cooking spray. Put in your meat with veggies, tomatoes, and bell peppers. If you are using instant rice now is the time to stir that in with the water. If you are using cold cooked rice just put that in. Add in the chili sauce with the rest of the seasonings and 1/2 of the cheese and stir. Cover with foil and cook for 30-40 minutes. Uncover, stir, then sprinkle the rest of the cheese on top. Pop back in the oven for 10 minutes or until the cheese is melted. Let sit for 5 minutes before serving.

Print Friendly and PDF

© Content Being Home 2024. All Rights Reserved. All photos, text, and other content may not be reproduced or transmitted in any form without the written permission of the blog author.

Chicken Corn Chowder

Chicken Corn Chowder

Ingredients:
6 strips of bacon
1 medium onion, diced
1 stalk celery, diced
2 carrots, diced
2-4 cloves garlic, minced
2-3 chicken breasts cut into bite-size pieces
4 medium potatoes (2 cups), peeled and diced (sometimes I sub with 2 sweet potatoes)
10.5 oz. low sodium cream of chicken soup
14.5 oz. can creamed corn
1/2 of 16 oz. bag of frozen corn (or 1 can of corn, drained)
1 tsp. salt
1/2 tsp. pepper
1/2 tsp. dried thyme
1 Bay leaf
2 Tbsp. butter
2 cups of chicken broth (or water but it won’t be as flavorful)
1 c. milk or 12 oz. can of evaporated milk (see note)
2-4 Tbsp. cornstarch (start with a little and add more if needed)

Directions:
Sauté bacon in a skillet until crisp. Drain on paper towels but keep 2 Tbsp. of the grease in the skillet. Cool bacon off, crumble and put in a covered container to use later. In the same skillet add onions, celery, carrots, and cook until soft. Can cook the potatoes for a few minutes as well. In crockpot add potatoes, cooked veggies, cut up chicken breasts, cream of chicken soup, corn (s), seasonings, butter, and broth.  Cook on low 6 hours or until potatoes are done. Stir cornstarch and milk together in a bowl. Stir this mixture in the last 30 minutes of cooking to help thicken the soup. Remove Bay leaf. Sprinkle cooked bacon on top of chowder when serving.

Serve with a side salad and buttered crusty bread.

Serves 4-6

Note: You can sub any milk you prefer like almond or coconut milk. You can make this without the chicken for it to be a regular corn chowder with bacon. You can also sub out and use precooked shredded chicken.

Print Friendly and PDF

© Content Being Home 2024. All Rights Reserved. All photos, text, and other content may not be reproduced or transmitted in any form without the written permission of the blog author.

Refreshing summer beverage using watermelon

This is a yummy beverage to use up any leftover watermelon during the summer holidays. You can easily swap out the ingredients to your liking.

Strawberry Watermelon Lemonade

Ingredients:
8 cups seedless watermelon (cubed)
1 cup strawberries halved or sliced
1/2-3/4 cup lemon juice
1 cup white sugar plus 1 cup water (see directions)
2 cups cold water

Directions:
Start by making some simple sugar syrup by boiling 1 cup of water with the sugar for a minute (you just want to get the sugar to dissolve not let the water boil out). Let that sit to the side and cool off. Next in a blender blend the lemon juice, watermelon, and strawberries (may have to do in 2 batches) until pureed. Pour this mixture through a fine mesh strainer into a big pitcher. After all the liquid falls through you can discard the pulp or do like I did and put into a container to use up in a smoothie. It’s best to put into ice cube trays to freeze then pop out and keep in a Ziploc bag. Use as many cubes in your smoothie as you like. Now it’s time to add the sugar water and the cold water and stir. This is really good for drinking when the weather is hot and holidays like Memorial Day, July 4th, Labor Day.

Note: You can leave out the strawberries or add another type of fruit. It’s a very versatile recipe.

Here is another take on this refreshing drink. I swapped out the above ingredients to come up with a new blend. Since it’s a very versatile recipe, you could try using other fruits to come up with different flavor profiles of your choosing 🙂

Watermelon Pink Lemonade

Ingredients:
6 cups seedless watermelon (cubed)
4 cups (1 quart prepared) Country Time Pink Lemonade
1/2 cup white sugar
2-3 cups cold water plus 1 cup of ice cubes

Directions:
Start out by making 1 quart of Country Time Pink Lemonade. Set aside. Next in a blender blend the watermelon, 1 cup of water, and sugar until pureed. Pour this mixture through a fine mesh strainer into a big pitcher. After all the liquid falls through you can discard the pulp or do like I did and put into a container to use up in a homemade sorbet, slushy, or fruit smoothie. It’s best to put into ice cube trays to freeze then pop out and keep in a Ziploc bag until ready to use. Now it’s time to add the cold water and the ice cube then stir. This is really good for drinking all summer while the weather is hot and of course holidays like Memorial Day, July 4th, Labor Day.

Print Friendly and PDF

© Content Being Home 2024. All Rights Reserved. All photos, text, and other content may not be reproduced or transmitted in any form without the written permission of the blog author.